Configure Amazon CloudFront
Using the AWS Management Console, we will create a CloudFront distribution and configure it to serve the S3 bucket we previously created.
- Open the Amazon CloudFront console at https://console.aws.amazon.com/cloudfront/home.
- From the console, click Create distribution.
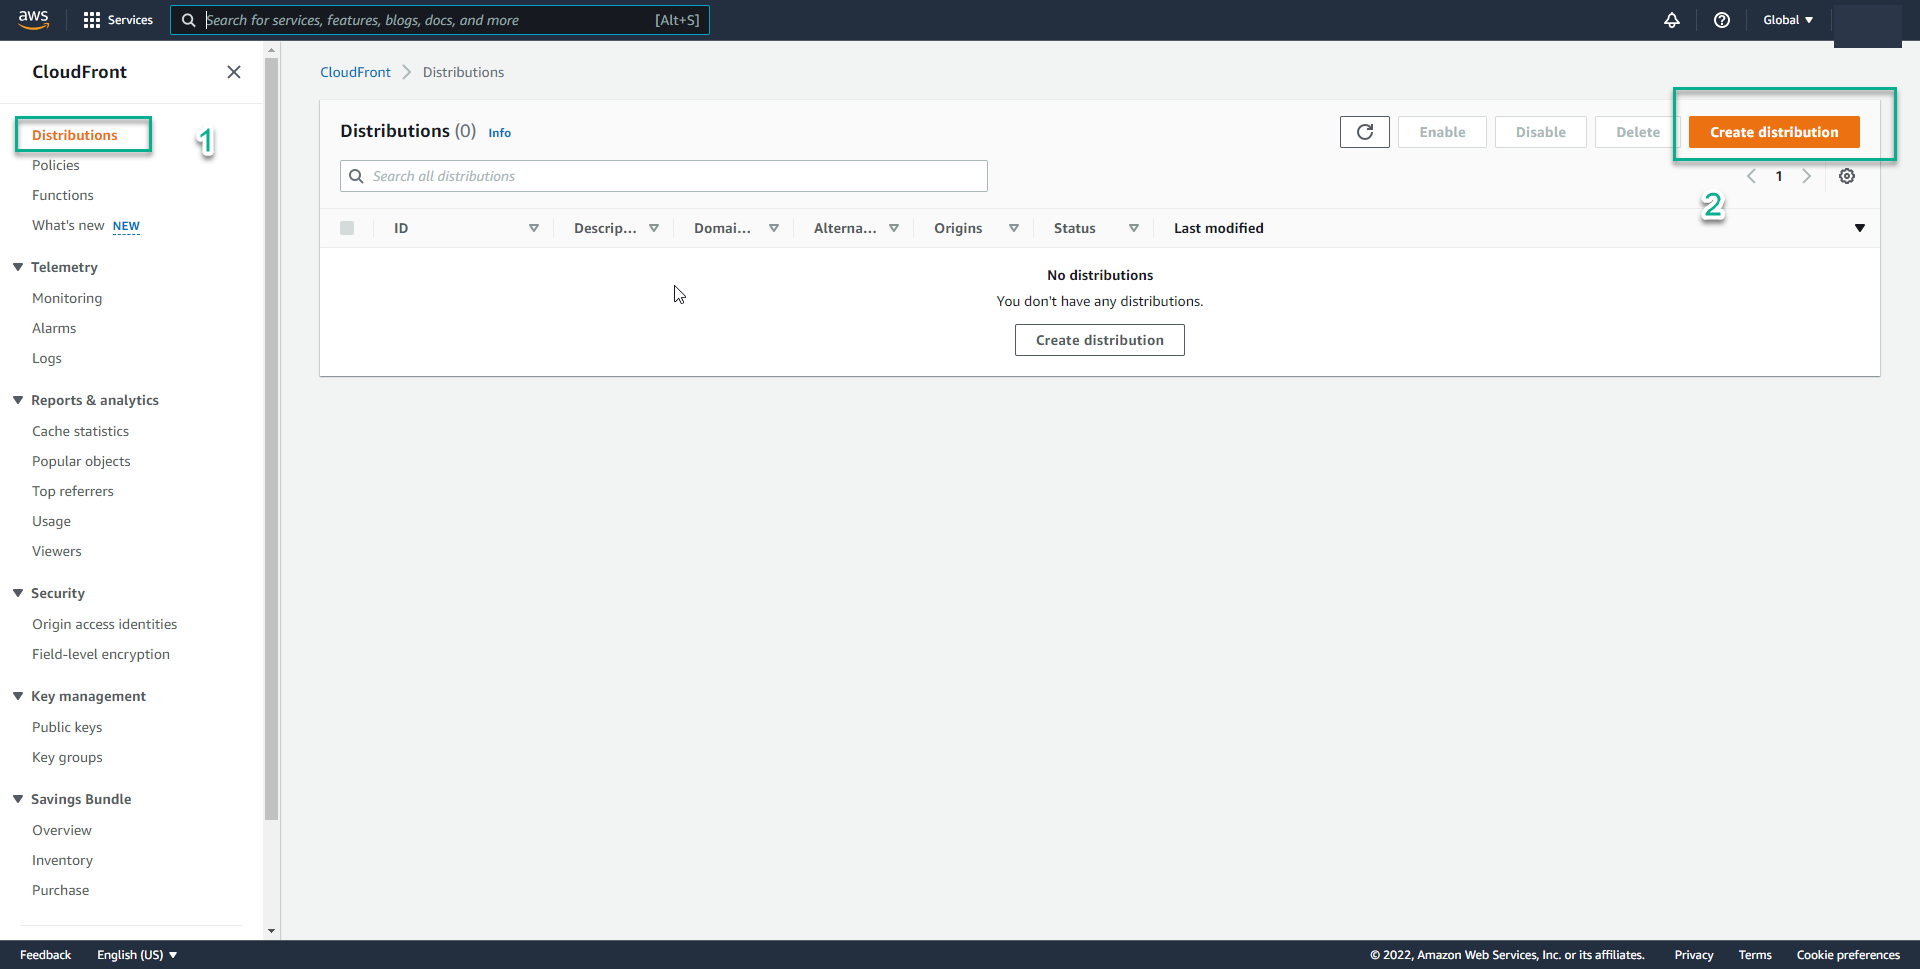
- Specify the following settings for the distribution:
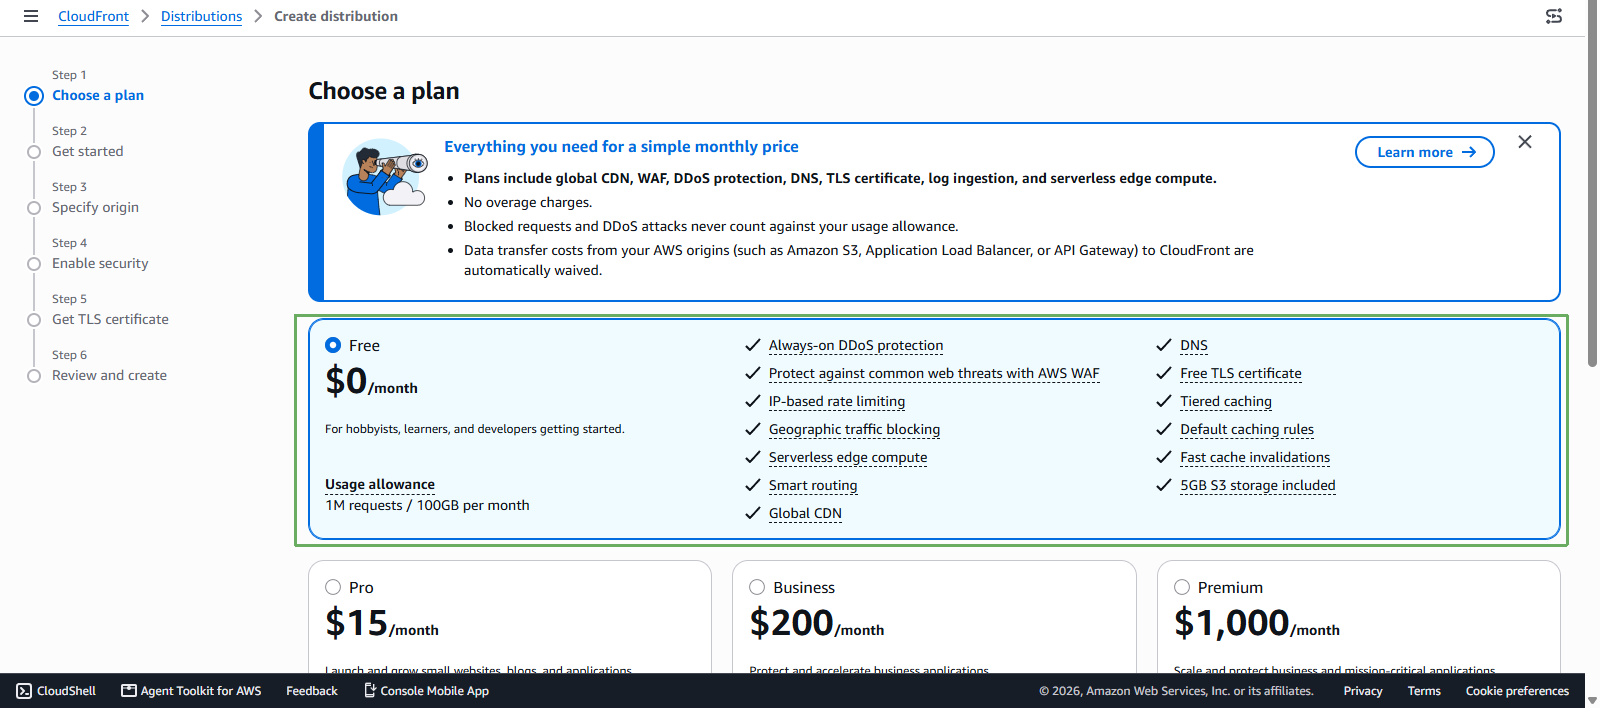
In the Choose a plan step, choose Free
In the Get started step, enter a Distribution name (e.g.,
WS94-Cloudfront) and choose Single website or app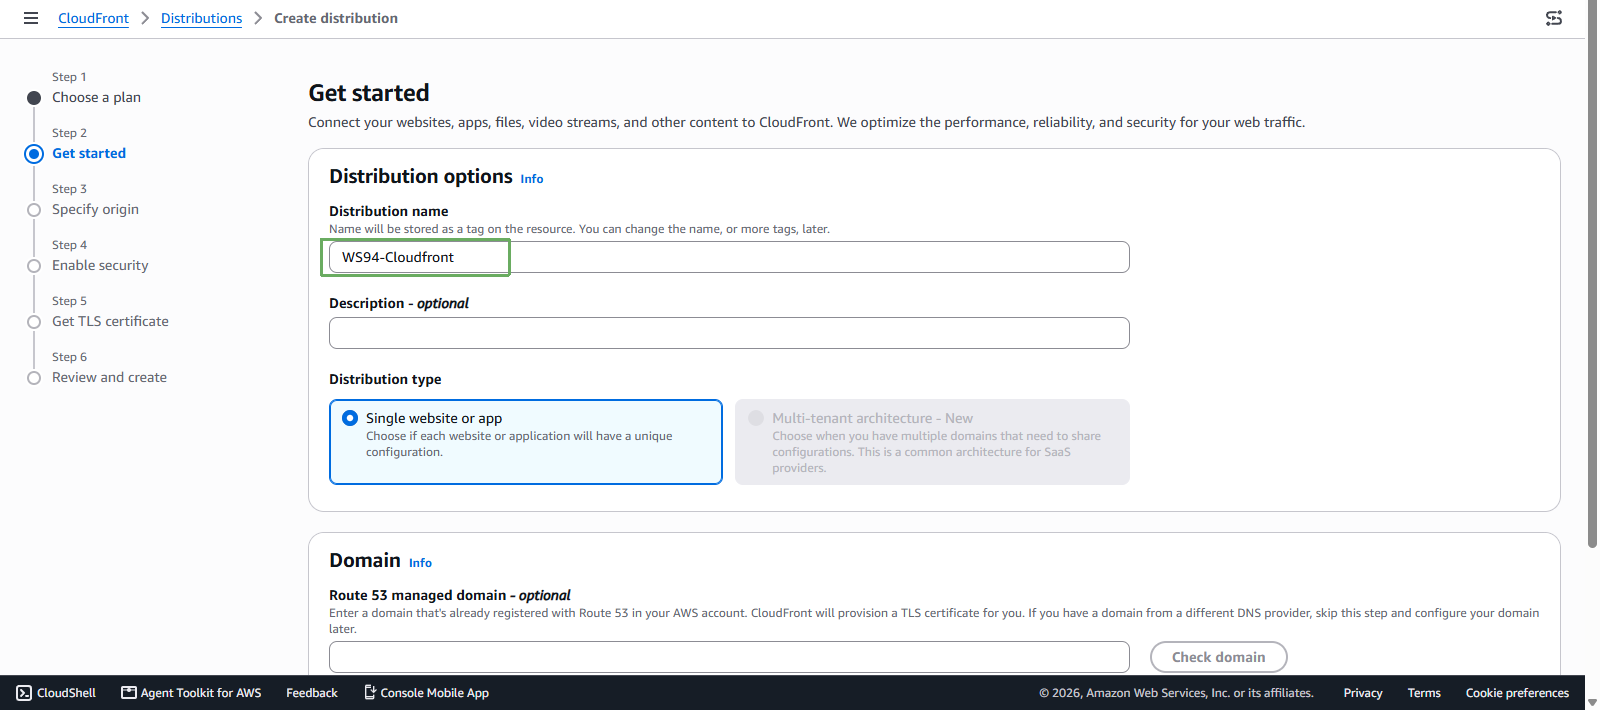
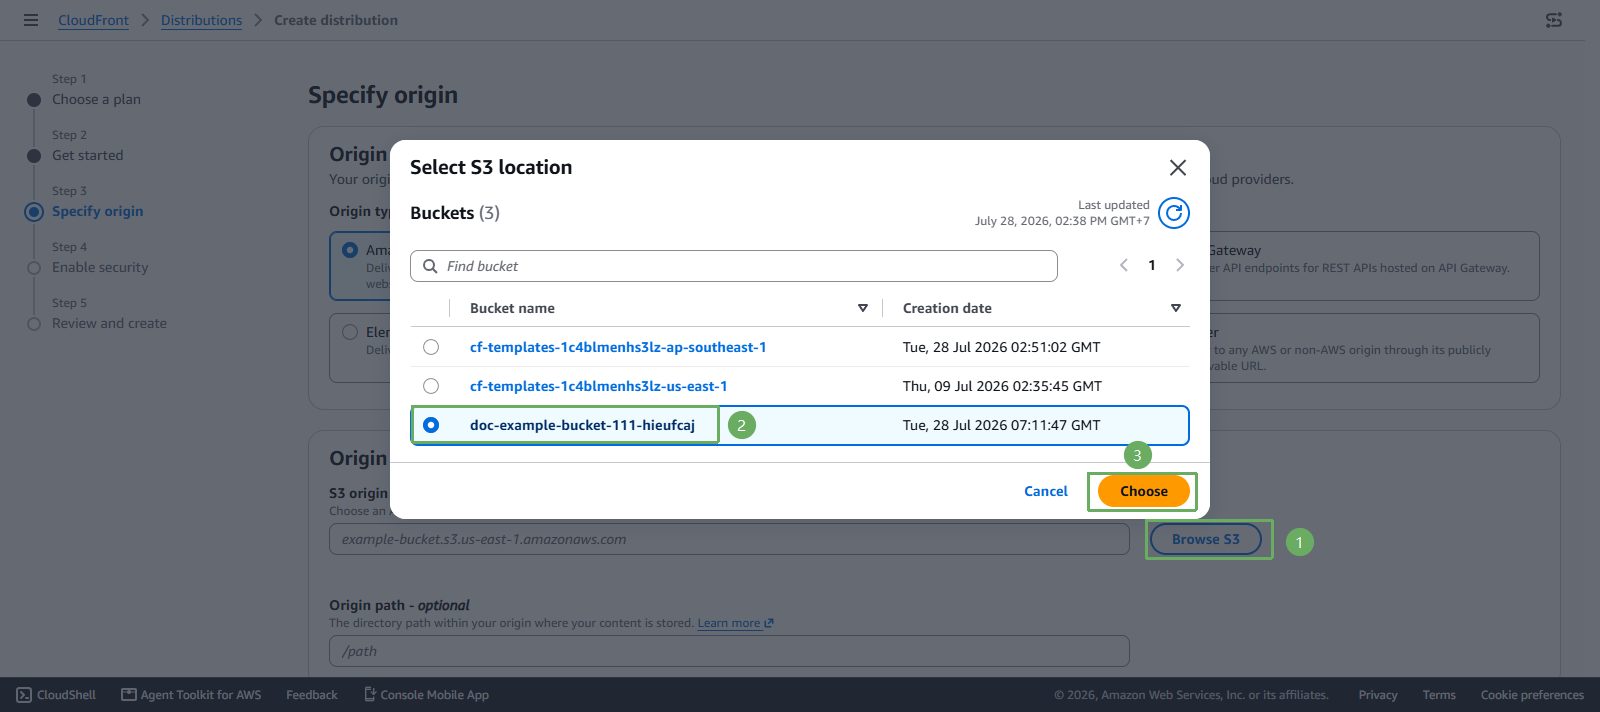
In the Specify origin step, select the S3 bucket you created previously
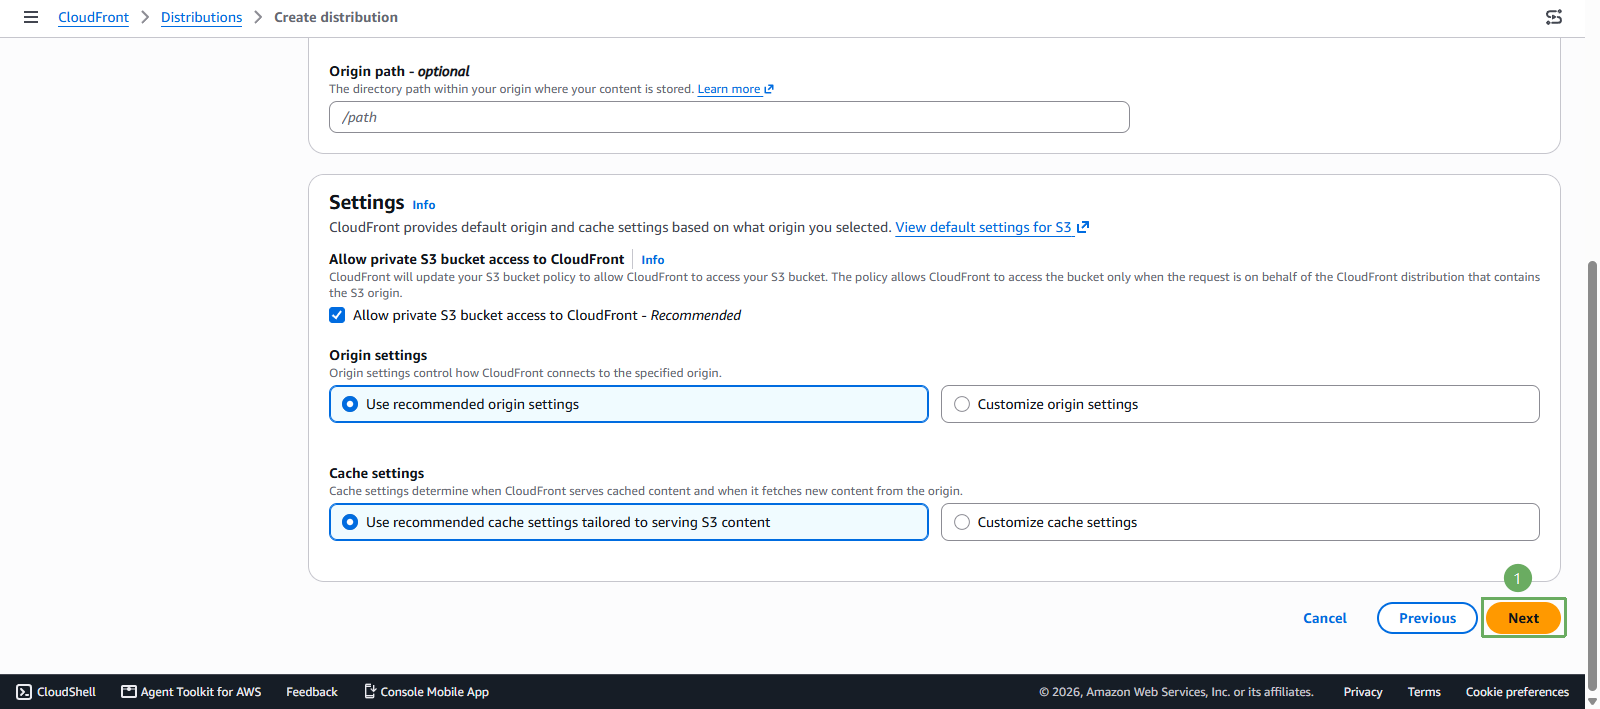
In the Settings step, check Allow private S3 bucket access to CloudFront - Recommended
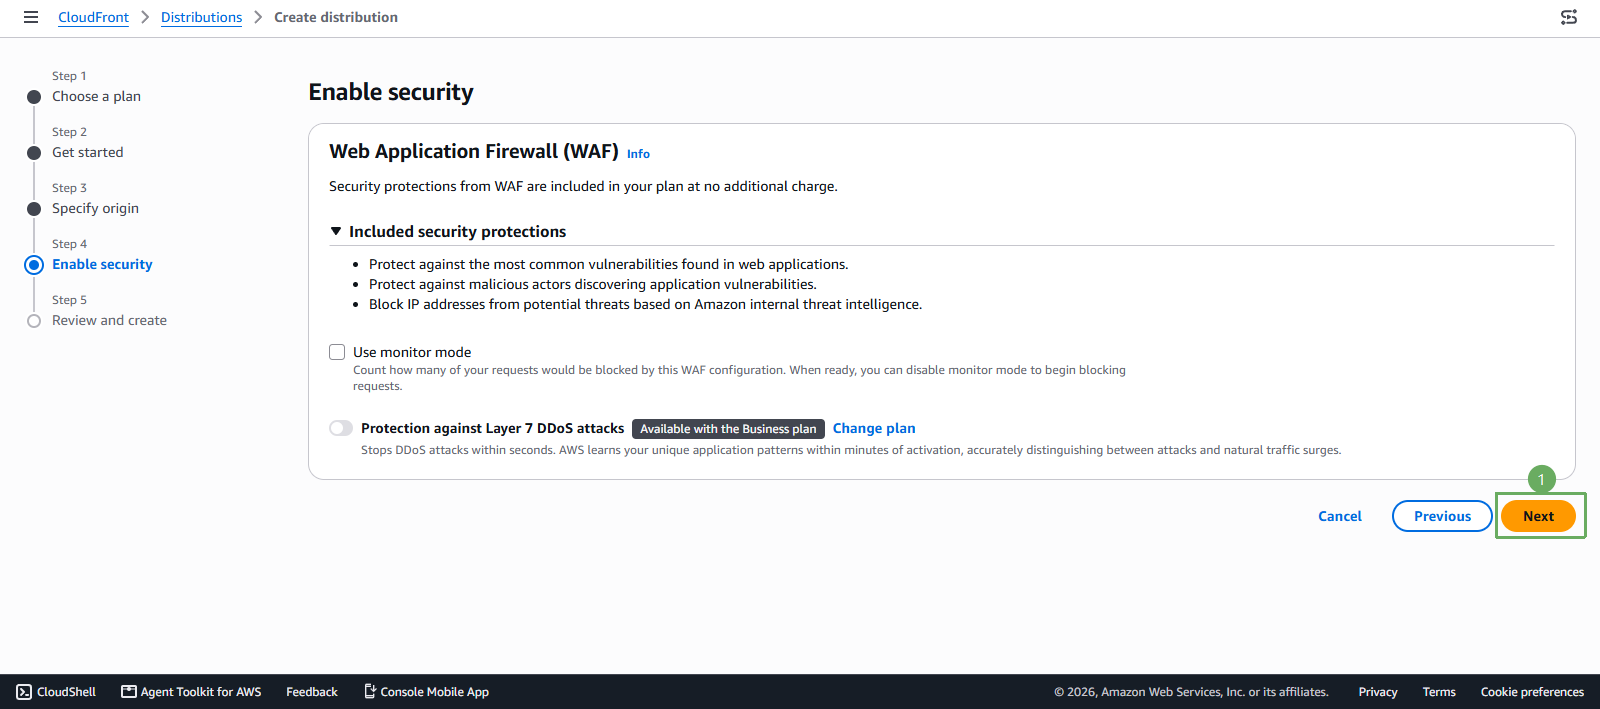
In the Enable security step, leave the options as default.
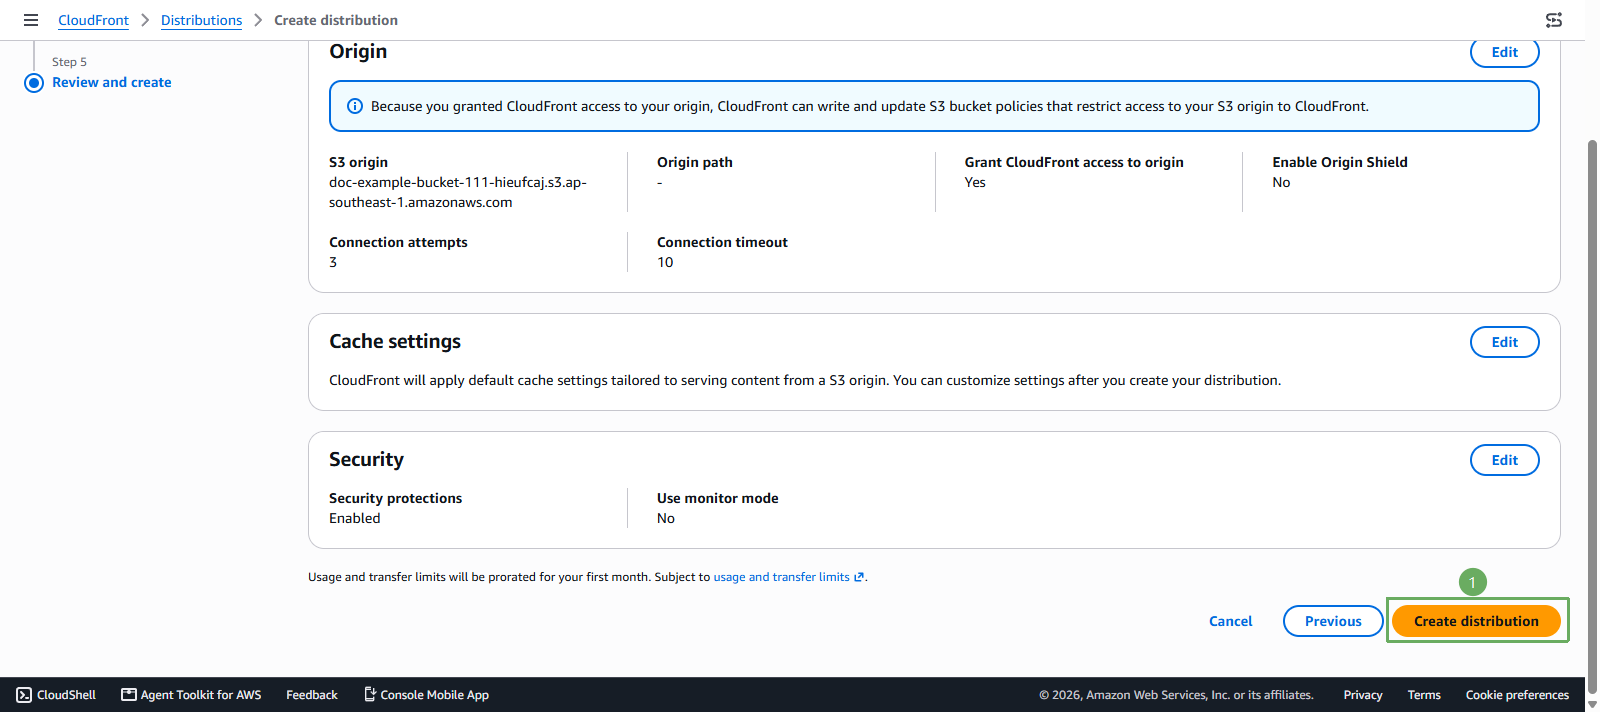
Scroll down to the Review and create section, choose Create distribution
- Configure Default root object:
After creation, on the Distribution details page, select the General tab.
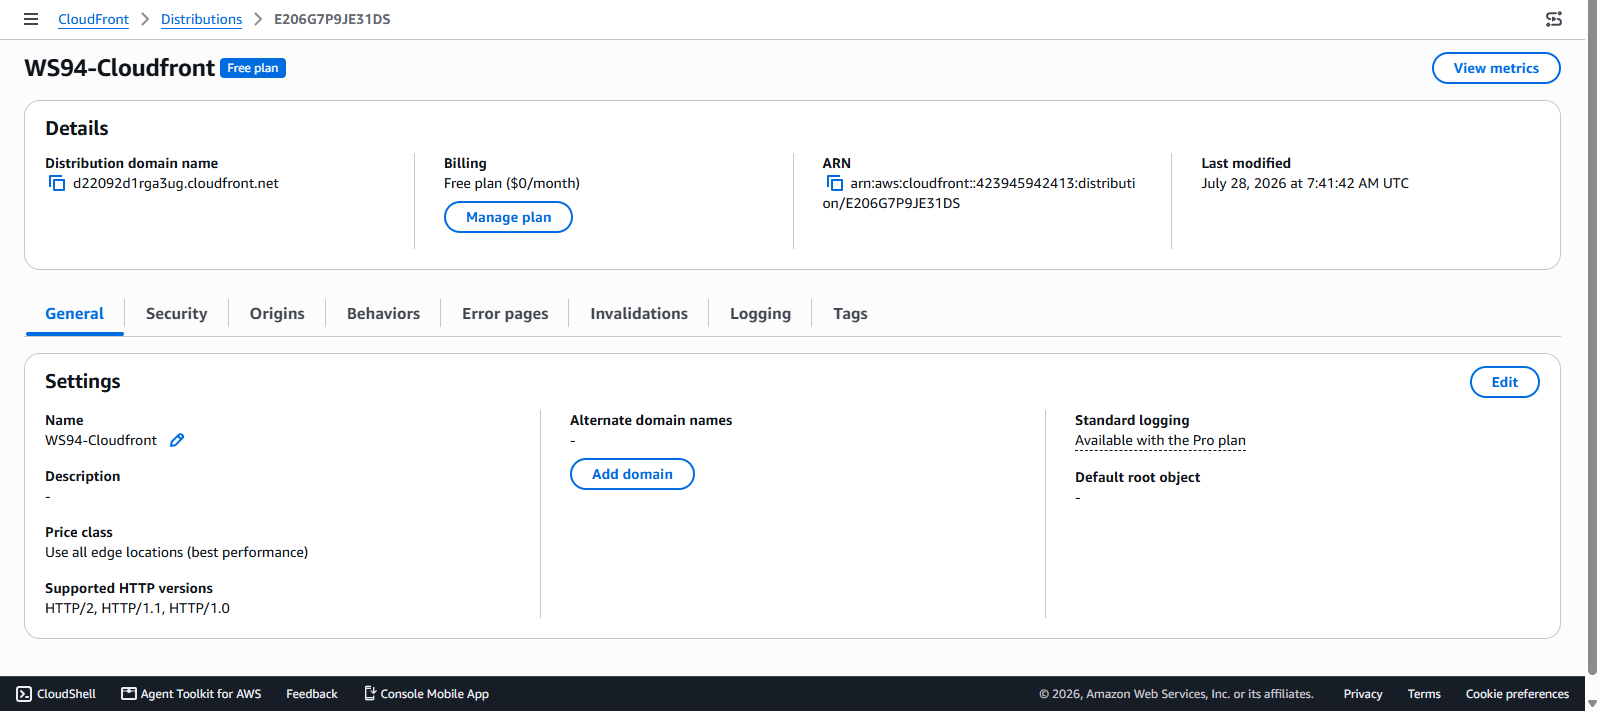
In the Settings section, choose Edit.
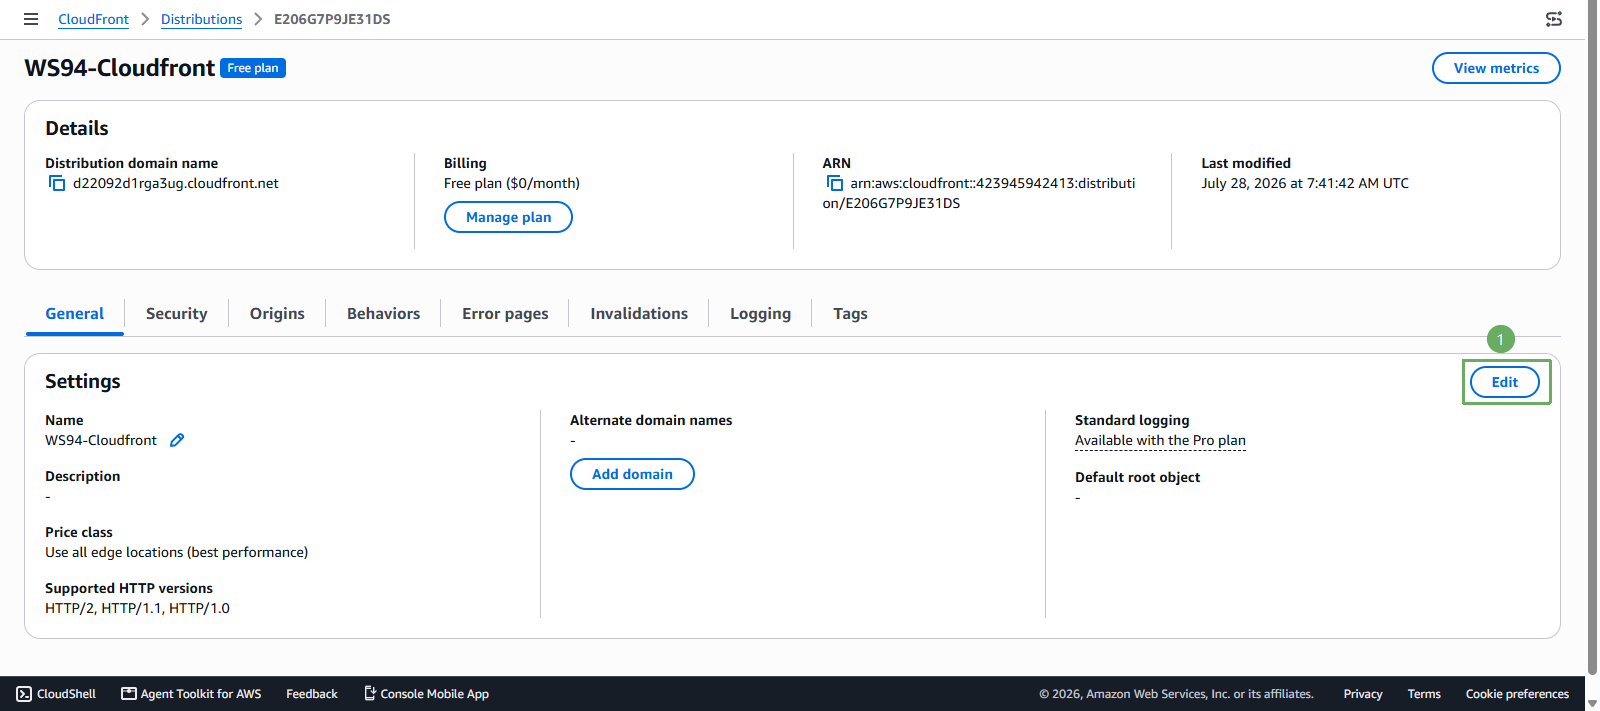
Enter
index.htmlinto the Default root object field, then choose Save changes.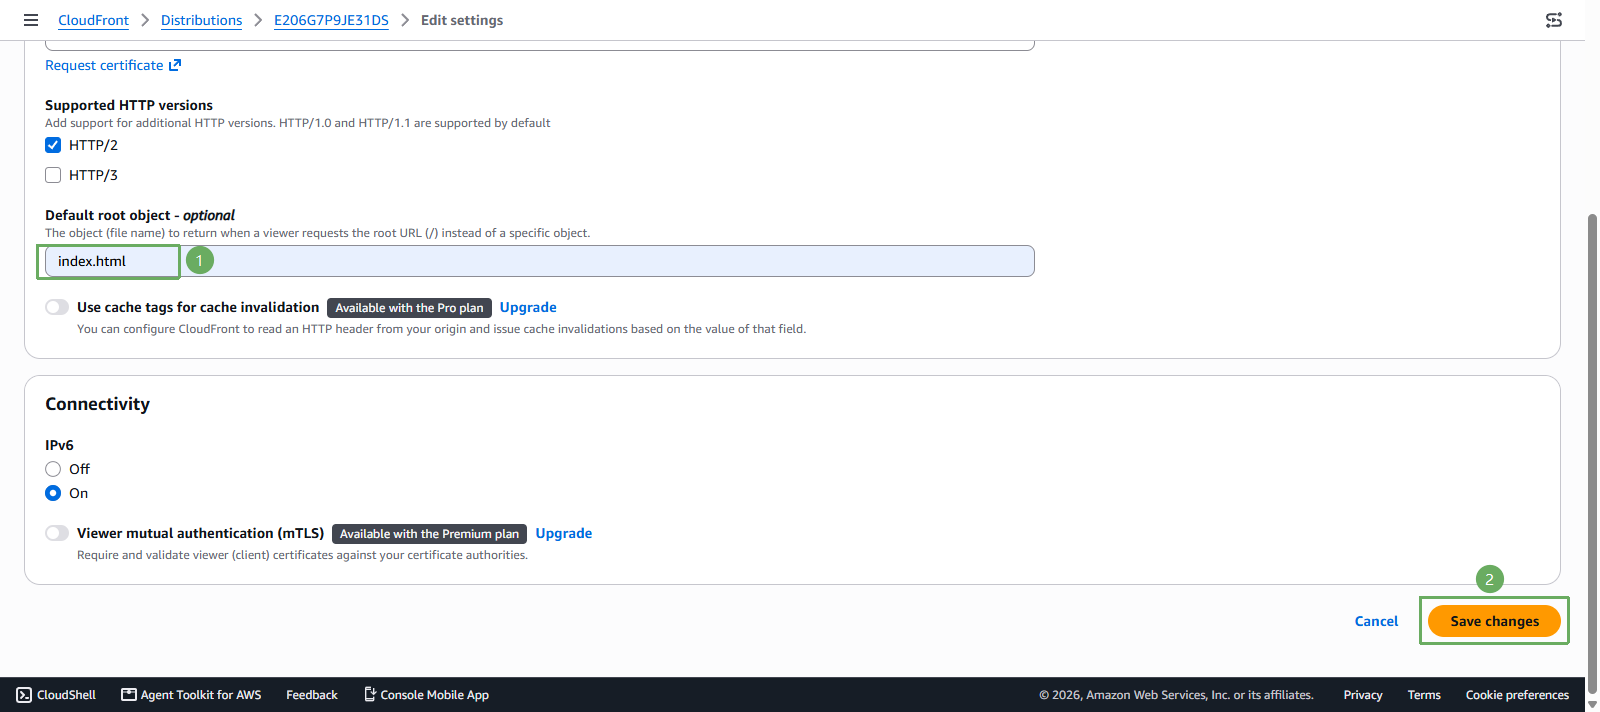
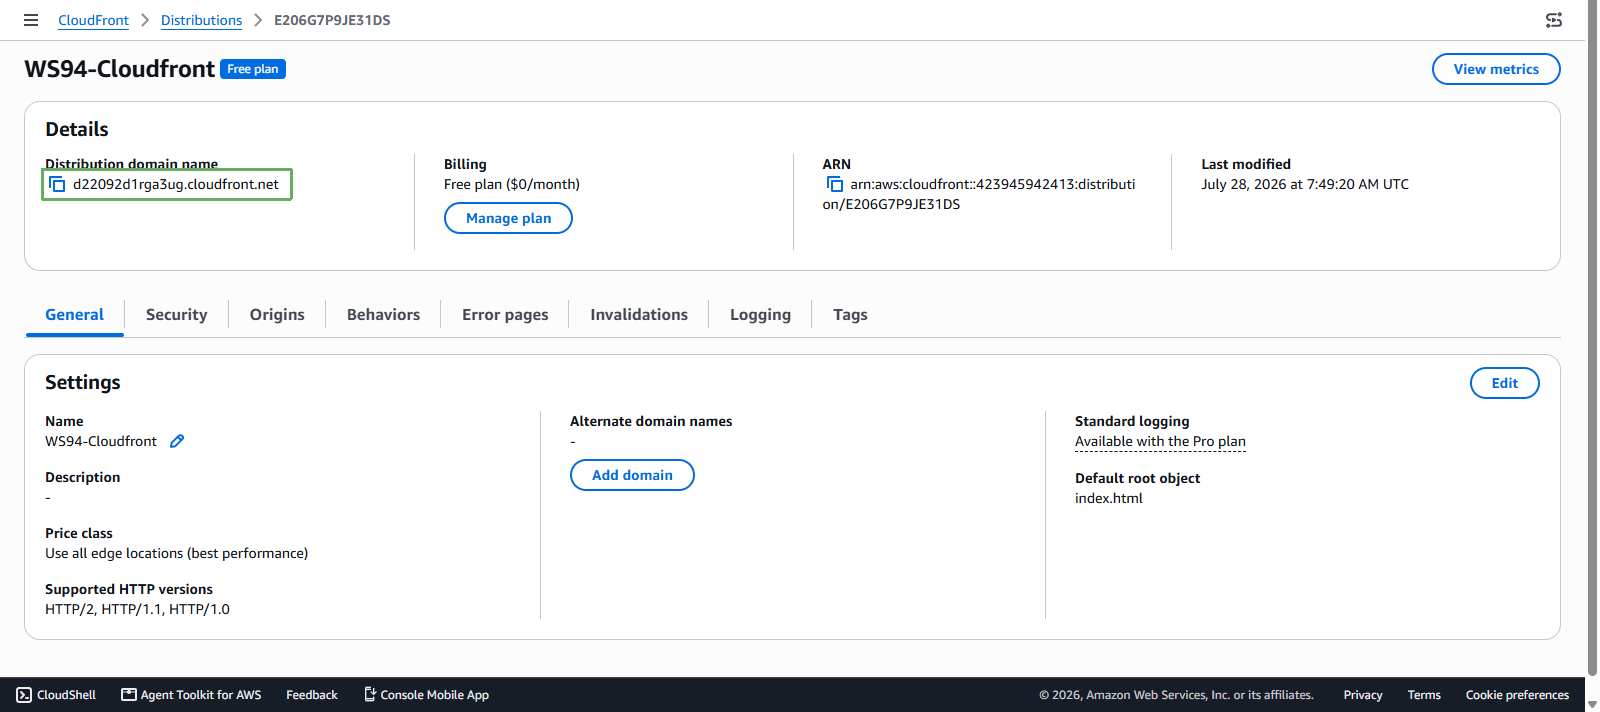
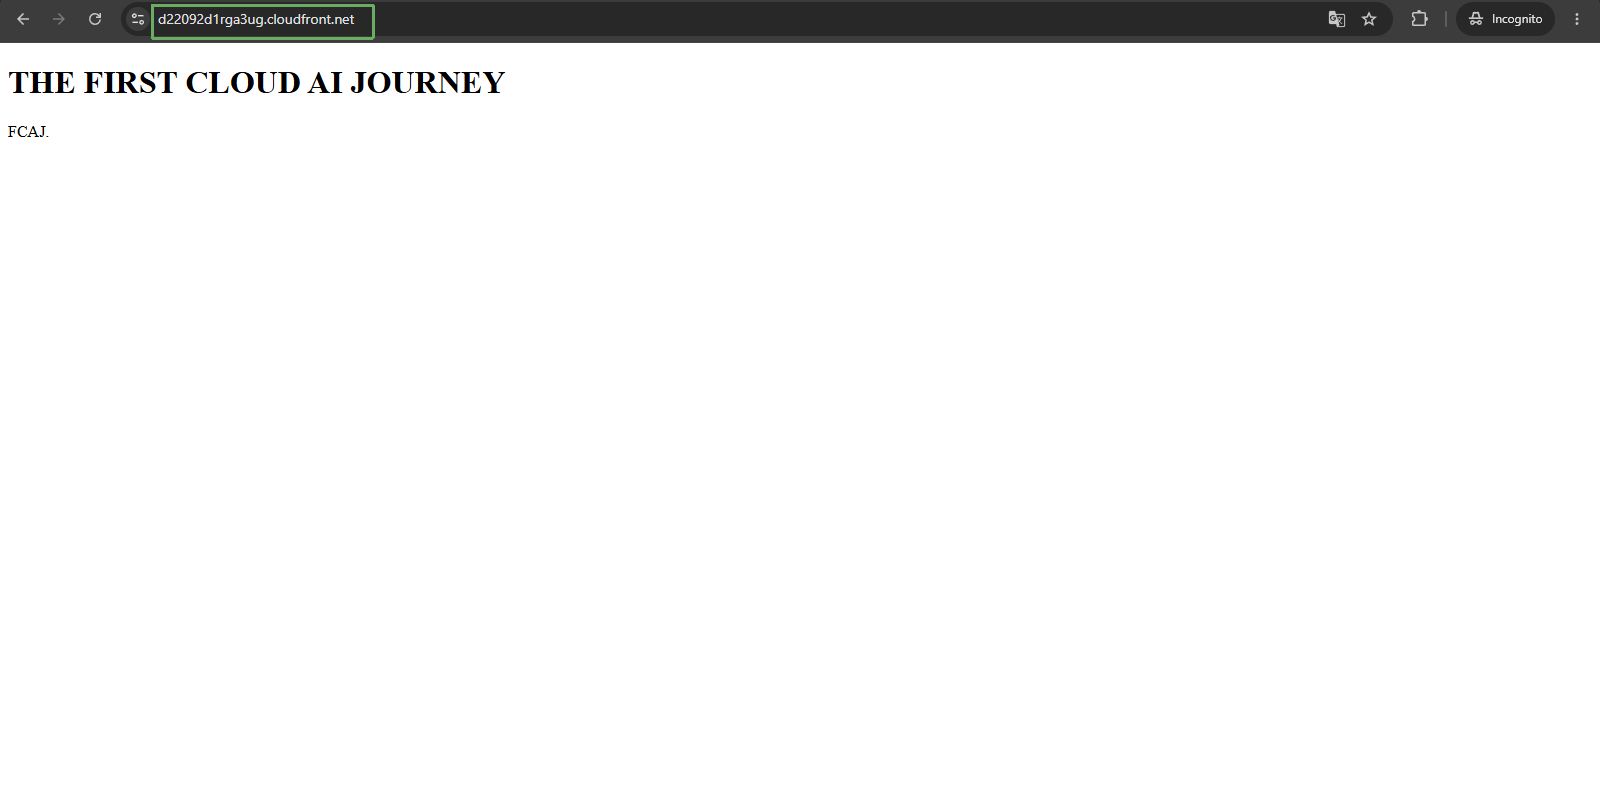
- When your distribution is deployed, test your static content (index.html) using your CloudFront Distribution domain name, which you can find in the console. Copy the domain name into a browser to test.
The result will look like the image below:
For more information, see Testing a Web Distribution.
- Check the time the browser takes to load index.html using the CloudFront Distribution domain name:
- Right-click, choose Inspect.
- On the right side of the page, choose the Network tab.
- Click the reload page icon.
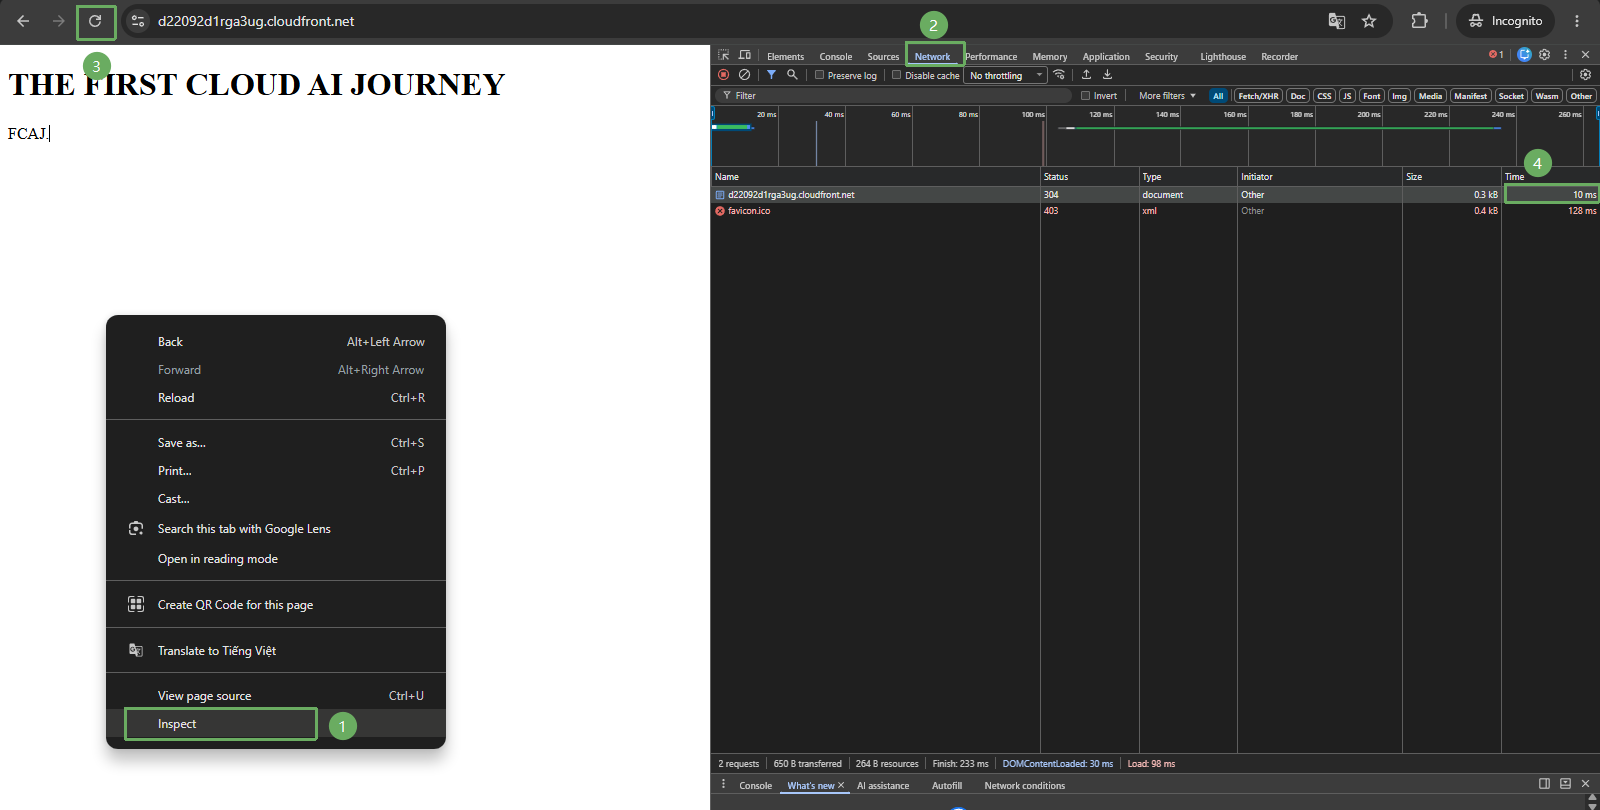
- The time decreased from 133 milliseconds (when viewing the html file via S3-Object URL) to 10 milliseconds by accessing via CloudFront! Imagine this: if your static web is hosted in the US Region & you have end users in Asia, the time to return results after 1 click can be up to a few seconds or tens of seconds, which will negatively affect the user experience! But with CloudFront, speed will always be optimal.
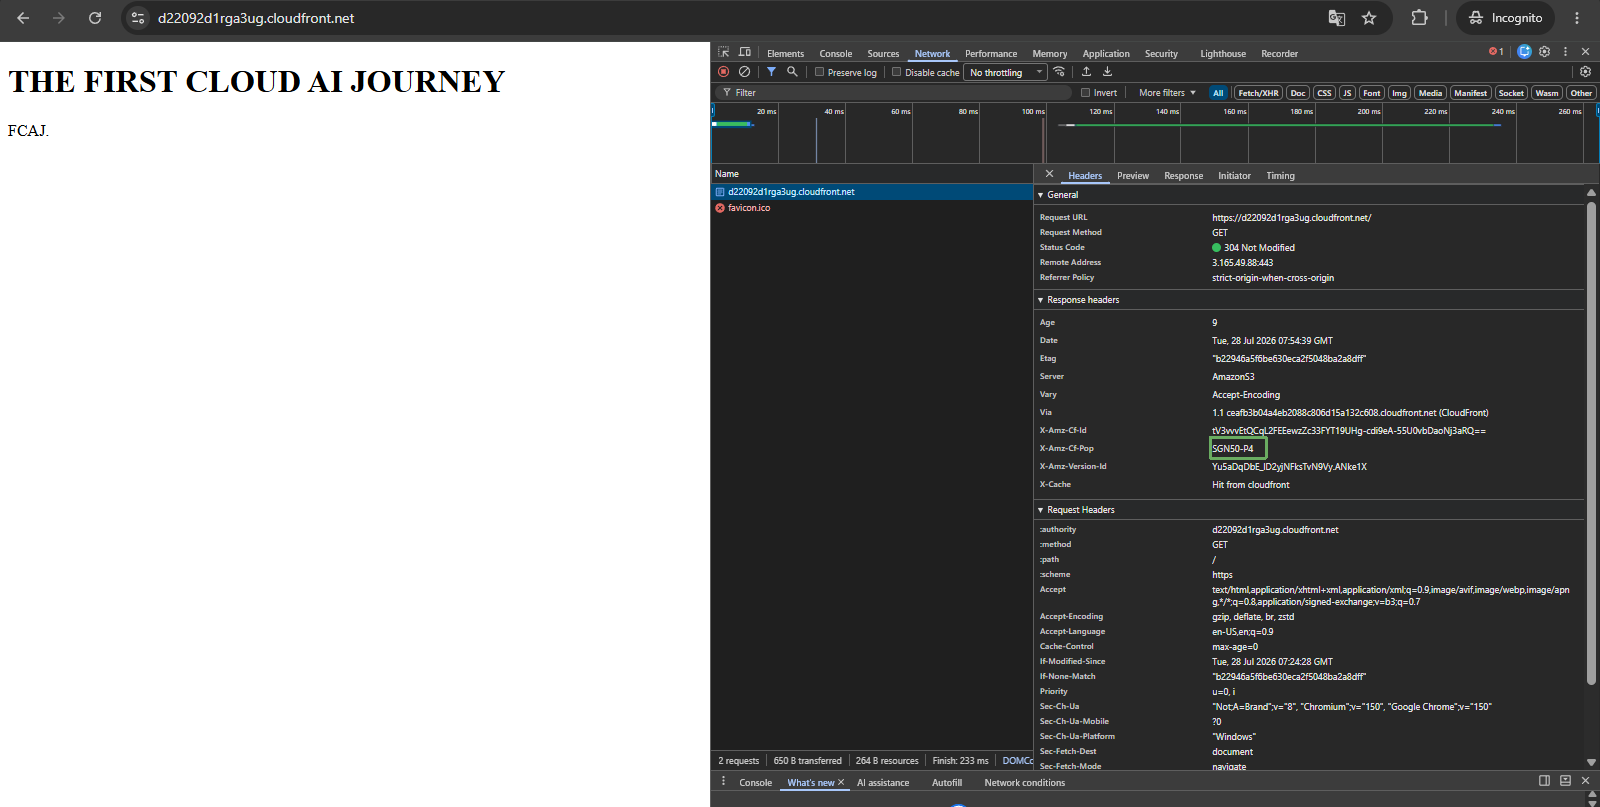
- Check the location of the CloudFront PoP (Points of Presence):
- Click on the first document file in the list on the Network tab.
- Check
X-Amz-Cf-Popof CloudFront in the Headers section. For example, accessing from Ho Chi Minh City, the POP is: SGN50-P4 (with SGN being Saigon).
- You now have content in a private S3 bucket that only CloudFront has secure access to. CloudFront then serves the requests, effectively becoming a secure, reliable static hosting service with additional features like custom certificates and alternate domain names.
For more information on configuring CloudFront, see Viewing and Updating CloudFront Distributions.